
Teach lesson
Arduino Visual Robot (2/4): buttons, LEDs, and modes
Students use visual blocks to read buttons, control LEDs, and build simple robot modes with observable real-hardware evidence.
Sign in with an educator account to prepare a class session. Students join with a class code.
New to LabsLand? Create your teacher account
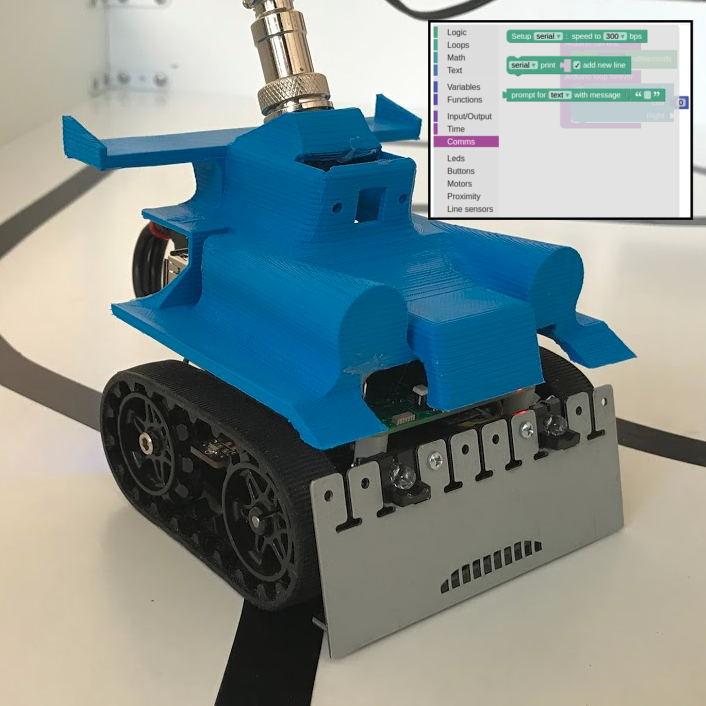
Learning Outcomes
Use robot buttons as decision inputs.
Use LEDs and serial messages to communicate robot state.
Create a simple mode-based program with safe behaviour.
Student activity preview
Activity Content
Preview only. In a class session, students can fill in responses and submit their work to the teacher.
Design the modes
8 min
A robot can have states, not only movements. For example:
- Waiting mode: motors stopped, red LED on.
- Ready mode: motors stopped, blue LED on.
- Test mode: a very short movement, then stop.
Design three robot modes using buttons A, B, and C. For each mode, state which LED turns on, whether there is a serial message, and whether the robot moves or stays stopped.
Program inputs and outputs
24 min
Before either example, set up Serial at 9600 with a separate workspace block and configure Button A as buttonA, Button B as buttonB and Button C as buttonC. Both motors stay at 0 throughout this LED/state lesson.
Open the robot visual lab and choose the recommended
any-circuitoption.Configure the buttons:
Button A as buttonA,Button B as buttonB,Button C as buttonC.In the main loop, use
if...thenblocks.If
buttonA is pressed, turn the red LED on and blue LED off.If
buttonB is pressed, turn the blue LED on and red LED off.If
buttonC is pressed, set both motors to0, turn LEDs off, and printstopped.Verify, upload, and test each button from the robot interface.
Block image and text reference:
Configuration blocks:

[Button] A [as] buttonA
[Button] B [as] buttonB
[Button] C [as] buttonC

In the main loop:

if [buttonA is pressed]:
  [Set] red [led to] HIGH
  [Set] blue [led to] LOW

if [buttonB is pressed]:
  [Set] blue [led to] HIGH
  [Set] red [led to] LOW

if [buttonC is pressed]:
  [Change two motors speed]
    Left:  0
    Right: 0
  [Set] red [led to] LOW
  [Set] blue [led to] LOW
  [print] "stopped"
The Button ... as ... block creates the button name. After that, the is pressed blocks can use that name. Use is pressed (it checks whether the button is held at that moment); to make it register, hold the button while the program checks it in the loop.
Fill the table after testing the buttons. Use one row for each button you test: A, B, and C. If the table shows extra blank rows, leave them empty. In each row, record the intended mode, the LED you saw, any serial message, and whether the result was safe.
| Button | Intended mode | LED observed | Serial message | Safe result |
|---|---|---|---|---|
Why do you need to configure a button before using a block that checks whether it is pressed?
Add a mode variable
15 min
As an improvement, add a variable called mode (Variables category). A variable is a named "box" that stores a value and remembers it. Give it a starting value (for example, mode = "waiting") so the robot has a state from the start. If you do not set a starting value, the variable is empty until you press a button and you will see no change. Each button changes the value:
- Press A:
mode = "waiting". - Press B:
mode = "ready". - Press C:
mode = "stopped".
Then use mode to decide which LED or message to show.
Text reference:
Configuration: Button A as buttonA; Button B as buttonB; Button C as buttonC
Setup Serial speed 9600 (separate workspace block)
Arduino run first:
  set mode to "waiting"
  Change two motors speed: Left 0, Right 0
Arduino loop forever:
  if buttonA is pressed: set mode to "waiting"
  if buttonB is pressed: set mode to "ready"
  if buttonC is pressed: set mode to "stopped"
  Change two motors speed: Left 0, Right 0
  if mode = "waiting": red LED HIGH; blue LED LOW
  if mode = "ready": red LED LOW; blue LED HIGH
  if mode = "stopped": red LED LOW; blue LED LOW
  print mode
  wait 100 milliseconds
What is the advantage of remembering the mode in a variable instead of only checking whether a button is pressed at this exact moment?
If pressing a button changes nothing, write three checks you would do before asking for help.
Short submission
8 min
Robot mode map
Submit your mode map and evidence of at least two working buttons. This can be a program screenshot, an observation table, or a written explanation with results.
Turn this preview into a live class session
Continue to LabsLand Teach to use this lesson with your students and review the access available to your account.
New to LabsLand? Create your teacher account