
Teach lesson
Arduino Visual Robot (1/4): first safe movement
Students program the Arduino visual robot to move safely, test start and stop behavior, and record evidence from the real remote robot.
Sign in with an educator account to prepare a class session. Students join with a class code.
New to LabsLand? Create your teacher account
Learning Outcomes
Program a real mobile robot with motor and time blocks.
Connect left/right motor speeds with forward motion, turns, and stopping.
Record observable evidence from a real robot run.
Student activity preview
Activity Content
Preview only. In a class session, students can fill in responses and submit their work to the teacher.
Before moving the robot
8 min
Before programming, locate what each part does. In these lessons you will use the physical robot's motors and LEDs, its line and proximity sensors, and the A/B/C buttons that appear in the lab's web interface.
A two-motor robot can move forward, turn, or stop depending on the speed of each wheel. In this lab you will build a block program, verify it, upload it, and watch a real robot execute it.
Today you will test short movements:
- Drive forward slowly.
- Stop after every movement.
- Turn by changing the two wheel speeds.
- Record what you actually see on the camera.
Predict what the robot should do if both motors are set to 150 for half a second and then both motors are set to 0. Explain why it helps to add a final stop block that sets both motors to 0.
Create the first movement
22 min
Open the Arduino Robot Visual lab.
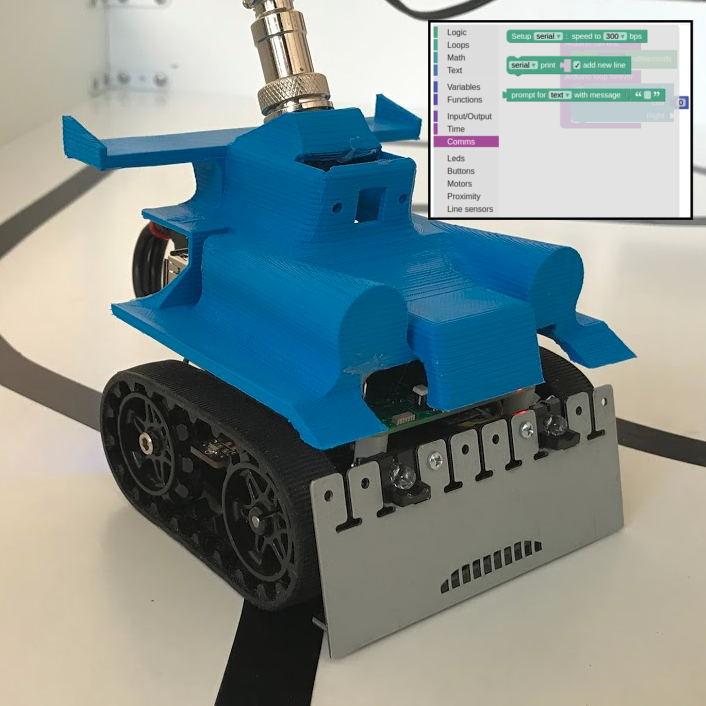
The robot editor is like the one in Part 1 (the board): the block categories are on the left and the Verify / compile and Upload into robot buttons are at the top. Here there are also robot-specific categories: Motors, LEDs, Buttons, Proximity, and Line sensors. The main loop is the big block that repeats without stopping (in Part 1 you saw it as Arduino loop forever): put inside it whatever you want the robot to do over and over.
Open the robot visual editor. The categories are on the left; Verify/compile and Upload to robot are at the top.
Select First available robot (of any type of circuit) / Any circuit and inspect the camera for a clear space.
Find the two sections of the purple Arduino block: Arduino run first executes once after upload/reset; Arduino loop forever repeats.
In Arduino run first, set both motor speeds to 0, then wait 2000 milliseconds so you can watch the camera before movement starts.
Still in Arduino run first, set both speeds to 150, wait 500 milliseconds, and set both speeds back to 0.
In Arduino loop forever, put only a block setting both motor speeds to 0. Do not put the movement sequence there.
Verify/compile, upload and watch the brief forward movement. Keep watching for at least 3 seconds afterwards: it must remain stopped.
A new upload or reset starts a new single trial. Recheck the available space before repeating. If the camera did not show the movement, record that and repeat only after it is visible.
Text reference:
Arduino run first:
  Change two motors speed: Left 0, Right 0
  wait 2000 milliseconds
  Change two motors speed: Left 150, Right 150
  wait 500 milliseconds
  Change two motors speed: Left 0, Right 0

Arduino loop forever:
  Change two motors speed: Left 0, Right 0
If you add a serial message, first use Setup with Serial at 9600, then use a print block with the text you want to record.
This table will have three rows by the end of the activity: one for forward and stop, one for Turn Test A, and one for Turn Test B. For now, after the first upload and observation, fill only the first row (Forward and stop) and leave the other two rows for the turns phase. In each row, write the left and right motor speeds, the time in milliseconds, what movement you saw, and whether the robot stopped at the end.
The speed range 125–150 applies to a driving wheel; a stopped wheel uses 0. Complete the first table row here and the two turning rows in the next phase.
| Test | Left motor | Right motor | Time (ms) | Observed movement | Stopped at the end? |
|---|---|---|---|---|---|
Describe one concrete piece of evidence that your program ran on the real robot. Include what you saw on the camera and any serial message you used.
Controlled turns
15 min
Test two short turns. Use speeds from 125 to 150 so the motors have enough strength, and use times from 300 to 700 ms. Remember: a negative speed makes that wheel spin backward; that is why, with one wheel forward and the other backward, the robot turns almost on the spot.
Test A:
Arduino run first:
  Change two motors speed: Left 0, Right 0
  wait 2000 milliseconds
  Change two motors speed: Left 150, Right -150
  wait 400 milliseconds
  Change two motors speed: Left 0, Right 0

Arduino loop forever:
  Change two motors speed: Left 0, Right 0
Test B:
Arduino run first:
  Change two motors speed: Left 0, Right 0
  wait 2000 milliseconds
  Change two motors speed: Left 0, Right 150
  wait 500 milliseconds
  Change two motors speed: Left 0, Right 0

Arduino loop forever:
  Change two motors speed: Left 0, Right 0
After observing each turn, go back to the previous table and fill one row for Test A: turn on the spot and one row for Test B: wider curve. Do not delete the first forward-and-stop row.
Compare the two turns. Which one turned more on the spot? Which one looked more like a curve? Use your observation, not just the theory.
If the robot moved too much or too little, what would you change first: speed or time? Justify your choice.
Exit evidence
10 min
First movement evidence
Submit a screenshot or description of your program and evidence from at least two tests: the forward-and-stop test and one turn test. It must be clear that the robot ends with both motors set to 0.
Explain why the timed movement belongs in Arduino run first and the zero-speed command belongs in Arduino loop forever. What did you observe during the 3 seconds after the movement ended?
Turn this preview into a live class session
Continue to LabsLand Teach to use this lesson with your students and review the access available to your account.
New to LabsLand? Create your teacher account