
Teach lesson
Basic Arduino 1/4: make an LED blink
Students use a remote Arduino board to turn an external LED on and off, change the blink rate, and recognize setup() and loop().
Sign in with an educator account to prepare a class session. Students join with a class code.
New to LabsLand? Create your teacher account
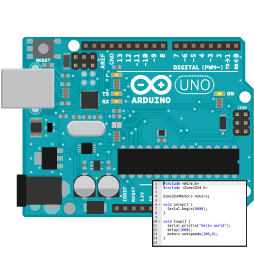
Learning Outcomes
Identify setup() and loop() in an Arduino program.
Configure a digital pin as an output.
Change the blink rate of an LED.
Student activity preview
Activity Content
Preview only. In a class session, students can fill in responses and submit their work to the teacher.
Before programming
7 min
Arduino runs two main parts. setup() runs once when the board starts. loop() repeats again and again. On this board, external LED 1 is connected to digital pin 8. If you configure that pin as an output, the program can turn it on and off. This fragment shows the blink cycle you are going to test:
digitalWrite(led1, HIGH);
delay(1000);
digitalWrite(led1, LOW);
delay(1000);
delay(1000) means a wait of 1000 milliseconds, or 1 second.
According to that fragment, if you change both delay(1000) lines to delay(250), what do you think will happen?
Program and observe
18 min
Open the lab, copy this program into main.ino, save it, and upload it to the board. When you see it working, change both delay(1000) lines to delay(250), save, and upload again.
const int led1 = 8;

void setup() {
  pinMode(led1, OUTPUT);
}

void loop() {
  digitalWrite(led1, HIGH);
  delay(1000);
  digitalWrite(led1, LOW);
  delay(1000);
}
Open the Arduino lab.
Copy or adapt the program in the editor.
Save the file.
Upload it to the board and observe LED 1.
Change both delays to 250 ms and upload again.
Submit your code
Capture the final code with the faster blink. Before attaching it, save main.ino in the lab environment. The snapshot must show the program you actually want your teacher to review.
Explain what you observed
10 min
Answer in two short parts:
- Match each function to its job in your program:
pinMode,digitalWrite,delay. - Describe the blink you observed with
delay(250)and compare it with your prediction.
Turn this preview into a live class session
Continue to LabsLand Teach to use this lesson with your students and review the access available to your account.
New to LabsLand? Create your teacher account